Neatline
Created by Brandon Locke & Updated by Zach Francis
Maintained by LEADR under the direction of Gillian Macdonald
Last Updated 11/02/2021
What can you do with Neatline?
Neatline is an exhibit-buiding framework that makes it possible to create beautiful, complex maps and connect them with timelines. Neatline is built as a suite of plugins for the Omeka, a digital archive-building framework that supplies a powerful platform for content management and web publication.
Neatline is great for developing spatial and temporal narratives to illustrate how events unfolded over time and space. This tutorial is intended for individuals interested in developing a Neatline-only project - if you are interested in developing a digital collection with Neatline integration, make sure to see our guide on Omeka as well.
Examples
- The Life and Death of a Boom Town: Bodie, California, 1850-1950
- Lansing Urban Renewal
- “Inventing the Map”
The developers of Neatline have a list of additional Neatline Demos you can explore.
Getting started with Neatline
You’ll need to speak with a LEADR staff member to get you set up with a Neatline installation. We’ll need to know your email address and the short project title you’d like to use in the URL. It should be specific but concise.
Because Neatline is a plugin for Omeka, you’ll be doing work in both the Omeka and Neatline interfaces.
Setting up an Exhibit
In Neatline, an exhibit is a single canvas (usually a map) that you can add images, texts, timelines, or illustrations to.
- Log in to your Omeka account
- Click on ‘Plugins’ at the top and then click Activate for ‘Neatline’, ‘Neatline Features’, ‘Neatline Widget - Text’, ‘Neatline Time’, and ‘Neatline Widget - Waypoints’. You may not use all of these features, but it doesn’t hurt to have them enabled. If these plugins aren’t listed, contact LEADR staff.
- After all of these are enabled, there should be a ‘Neatline’ tab on the left-hand side of the screen. Click on that to enter the Neatline editing dashboard.
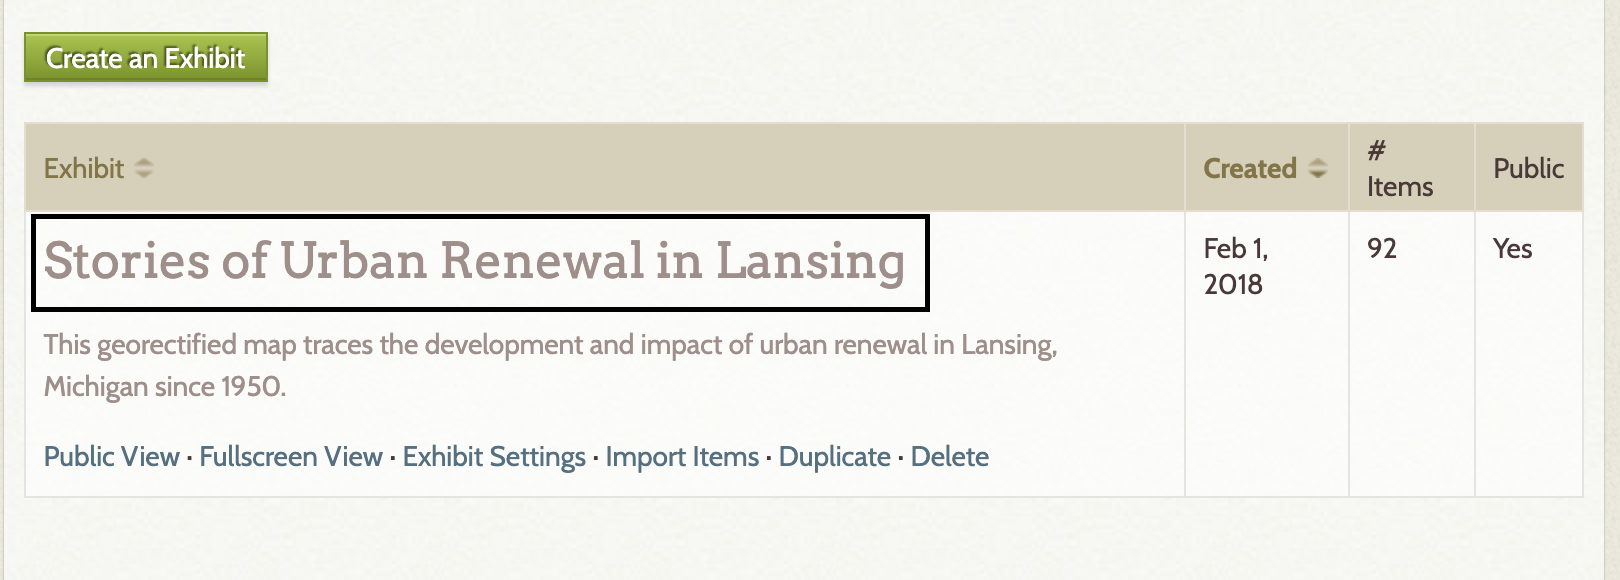
- Click ‘Create an Exhibit’ and fill out the form.
- Title
- URL Slug
- Narrative
- Widgets (this will show possible selections - I’ll add them all for this tutorial, but you can always add/delete these if you need to)
- Public (checkbox at the bottom - you may as well make it public right away)
- For all of the rest, we’ll leave them as they are - you may need to come back to them at some point.
- Click ‘Save Exhibit’ to generate your new Omeka exhibit.
- Once you return to the Neatline dashboard (it may take a minute), click on your exhibit title to enter the editing screen.
Adding records to Neatline
All content (images, text, etc.) added to the exhibit must be added as a ‘Record’. Records can be tied to a map (as a point, a shape, or a line), a timeline, or both. A record can either be text added through this interface (or an image or video, using custom HTML), or tied to an Omeka item.
On the Neatline editor page, click ‘New Record.’ This will bring up a record editing bar on the left side of the page with four tabs: Text, Item, Map, Style. There are ‘Save’ buttons at the bottom of each tabbed page, and it’s recommended that you use them often.
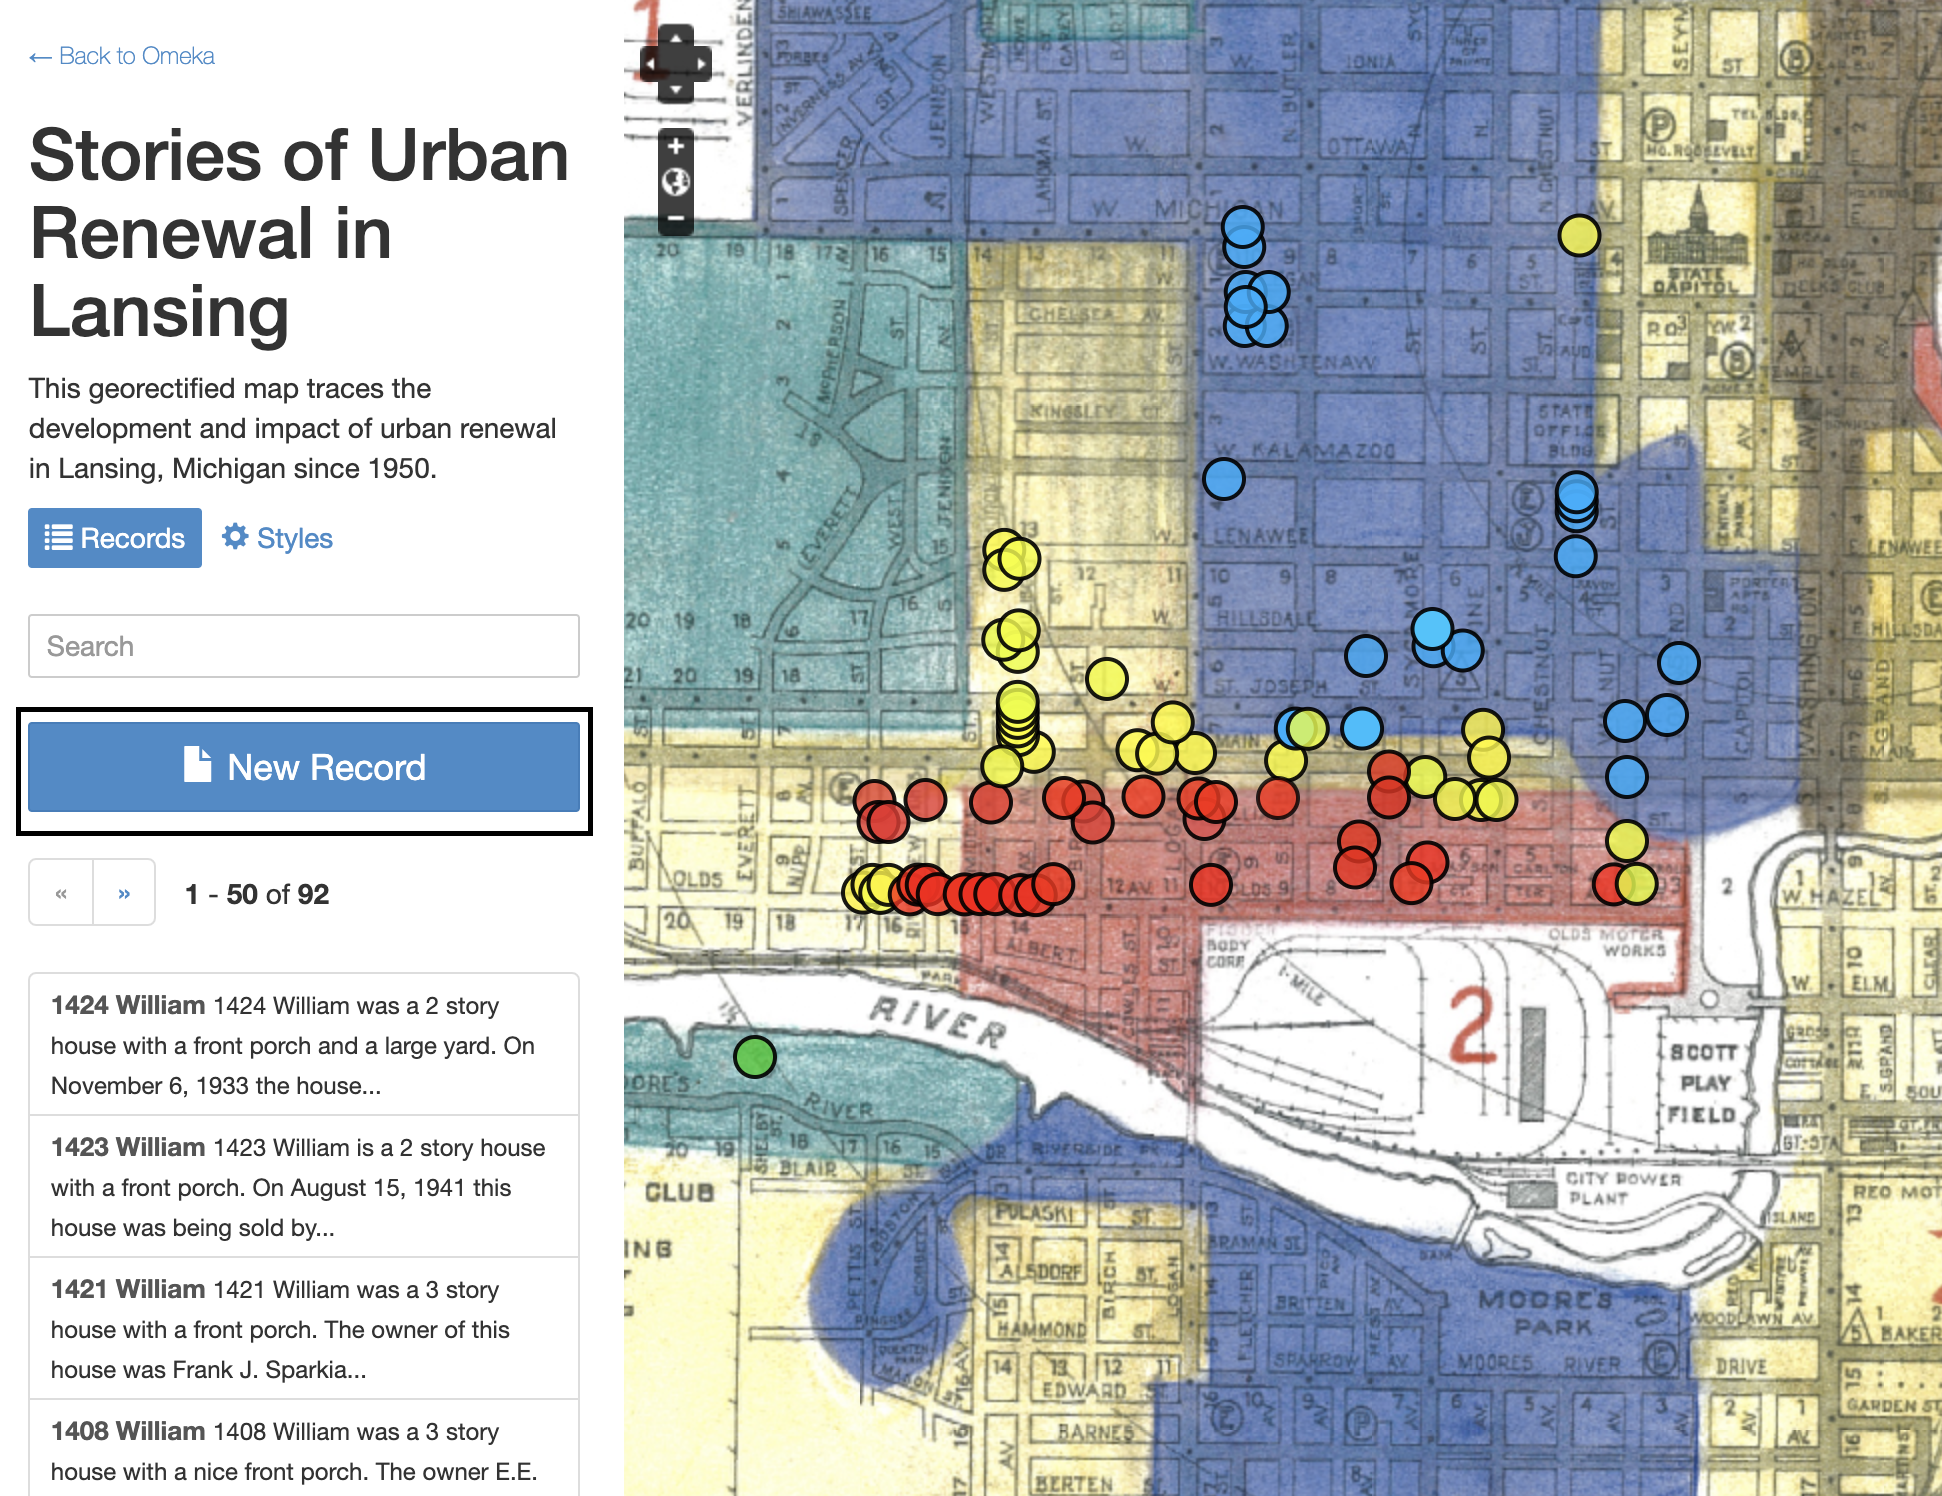
Tabs for adding records
Text
Here you can assign the record a Title and you have the option to add text (or customized HTML) to the record.
- Slug: A plaintext ID for the record, used to reference the record from TEI or HTML. Eg: warandpeace This is not required - Neatline will generate its own slug.
- Title: A toplevel, humanreadable identifier. Used as a label for the record. Eg: “War and Peace”
- Body: The main content of the record. Could be a short blurb, a longformat essay, a video, etc. If you decide to add an item from Omeka, this will appear about the item information.
Item
This is where you can include an Omeka item as a record. You’ll need to create it before you can use it in Neatline, but any later edits to the Omeka item will be reflected. Click in the ‘Search Omeka items’ box and start to type in the name of the item. It will return results as you type.
Map
Here you can add your record to the map as one or more points, lines, or polygons.
- Navigate - This allows you to ‘grab’ the map and move around. It effectively turns off all of the drawing tools.
- Draw Point - This will attach the record to one specific set of lat/lon coordinates. The point size and style can be edited in the ‘Style’ tab.
- Draw Line - This will allow you to create a line using multiple points. Add as many points as you’d like by clicking, then doubleclick on the final point to complete the line.
- Draw Polygon - This will create a closed shape in the location of your choosing. Click on a ‘starting corner’ and then continue clicking to fill out the shape you’d like. Doubleclick on your final point to complete the shape.
- Draw Regular Polygon - This automatically creates a polygon with a given number of sides. This is useful if you want to create consistently-shaped geometric primitives (triangles, squares, circles, etc.). Click down in the center of the desired location and, while still holding down on the mouse button, move the cursor in any direction away from the center point. As you drag the mouse, a polygon will be dynamically rendered on the map with a radius equal to the distance between the cursor and the center point. Rotate the cursor around the center point to change the orientation of the polygon. When the polygon is positioned correctly, release the mouse button to lock the shape in place.
Before you begin placing records on the map, you may want to set a default map location. The default window goes to Null Island, but you can recenter it by clicking on the ‘Styles’ tab at the exhibit home page, moving the window to where you’d like it, and then clicking ‘Use Current Viewport as Default’.
Style
- Tags: A string of commadelimited tags used to slice and dice the collection into related subgroups.
- Widgets: Which of the “viewports” the record is visible in (timeline, waypoints browser, etc).
- Presenter: Each record is assigned to a “presenter,” which determines the mechanism by which the record’s content is displayed (the “Title” and “Body” fields). Out of the box, Neatline comes with two simple presenters - the “Static Bubble,” which displays the pop-up bubbles that appear when the cursor hovers or clicks on a record, and the “None” presenter, which, as you might guess, does nothing (this is useful for purely-visual annotations that don’t need any kind of text content - arrows, brackets, etc).
- Fill Color: The color of polygons on the map. Also used as the default color in other contexts.
- Fill Color (Selected): The color of map polygons when the record is highlighted or selected.
- Stroke Color: The color of the lines running around the edges of polygons on the map.
- Stroke Color (Selected): The color of the lines when the record is highlighted or selected.
- Fill Opacity: The opacity (translucency) of the polygons on the map.
- Fill Opacity (Selected): The opacity of map polygons when the recors is highlighted or selected.
- Stroke Opacity: The opacity of lines running around the edges of polygons on the map.
- Stroke Opacity (Selected): The lines opacity when the record is highlighted or selected.
- Stroke Width: The thickness, in pixels, of the lines around polygons.
- Point Radius: The size of individual points on the map.
- ZIndex: The “stacking” order of records when displayed on the map.
- Order / Weight: Used to determine the display order of a record in relation to other records.
- Start Date: The beginning of the event that the record describes. This controls when it is used on the Timeline.
- End Date: The end of the event that the record describes. This controls when it is used on the Timeline.
- After Date: The date after which the record should be displayed in the exhibit. This controls when it appears on the map.
- Before Date: The date before which the record should be displayed in the exhibit. This controls when it appears on the map.
- Point Image: A webaccessible image used to display individual points on the map.
- WMS Address: The location of a WMS server (eg, an installation ofGeoserver).
- WMS Layers: A commadelimited collection of layers (hosted on the WMS server) to be overlayed on the map.
- Min Zoom: The map zoom level above which the record is visible (where zooming “in” is “higher”).
- Max Zoom: The map zoom level below which the record is visible.
- Default Focus: The lat/lon coordinates that the map zooms to when the record is selected.
- Default Zoom: The zoom level that the map zooms to when the record is selected.
Using the Timeline function
Activate SIMILE Timeline
The timeline that appears at the bottom of the Neatline Viewer must be activated in the Omeka Plugins page (it is called ‘Neatline Widget ~ SIMILE Timeline).
Add record to the Timeline
To place a record on the timeline, go to the ‘Style’ tab for the record and add SIMILE Timeline to the Widgets field. The record’s placement is dependent upon the record’s ‘Start Date’ and ‘End Date’.
An item’s color on the timeline can be customized by adjusting the Fill and Stroke color options on the Style tab.
Customize the Timeline
At the Neatline dashboard, click on the ‘Plugins’ tab and then select SIMILE Timeline. You will have 5 fields for customization.
- Default Date: This sets the date that appears at the center of the timeline by default
- Interval Unit: Decide how large or small the intervals will be on the timeline - this can range between one second and a millenium
- Interval Pixels: Set the distance (on the screen) between the intervals on the timeline
- Track Height: Set the height of the space used to show the event’s ‘tape’ and label on the timeline
- Tape Height: Set the height of an object on the timeline
Adding a Georectified Map Overlay
Neatline allows you to add a georectified image as an overlay onto your map. If you want tips on how to georectify your own image, check out our guide on using Map Warper. To create an overlay, follow these new steps:
- Add a new record by clicking the New Record button in your Neatline Exhibit.
- Enter a Title and description of the image you are overlaying (e.g. “Cival War Map”)
- In the Style tab, under the Imagery section, add the WMS Address for your mapwarper.net map.
- The address will be something like “http://mapwarper.net/maps/wms/39213”, except your the last 5 numbers will be the identifying number of your map (the identifying number can be found at the end of the URL when you are at your map’s page in mapwarper.net)
- Your map should now be an overlay in your Neatline exhibit. You can edit settings for the map using various options in your record.
Additional Resources
- Sources for this guide
- Map Warper Guide on georectifying