How to Georectify a Map using Mapwarper
Created by Zach Francis
Maintained by LEADR under the direction of Gillian Macdonald
Last Updated: 11/02/2021
Overview
This guide will provide steps on how to georectify an image of a map so that the places on a desired image will line up with their real life coordinates using a web mapping service called Map Warper. Georectifying an image essentially adds coordinates to an image. This has many applications such as when you want to overlay an image of an old map over a modern map. We show you one way to do exactly this in our Neatline guide (scroll to the bottom of that guide).
Georectifying a Map
When you georectify an image, that means that you are taking points on the image and assigning coordinates to them using some kind of mapping software. There are multiple ways to georectify an image, including with GIS, but we will be using a straightforward online mapping service at https://mapwarper.net/. Map Warper is a private project created by Tim Waters. Please consider deleting old maps that you are no longer planning on using to save server space for all of the individuals using this excellent tool (delete button is at the top of the edit page).
Putting a Map into mapwarper.net
To start using mapwarper.net, you will need an account and an image that you want to georectify. Once you have your image, follow these instructions:
- Create a mapwarper.net account by clicking the Create an Account button at the top-right of the page or by going to this link: https://mapwarper.net/u/sign_up
- Or sign into your account if you already have one
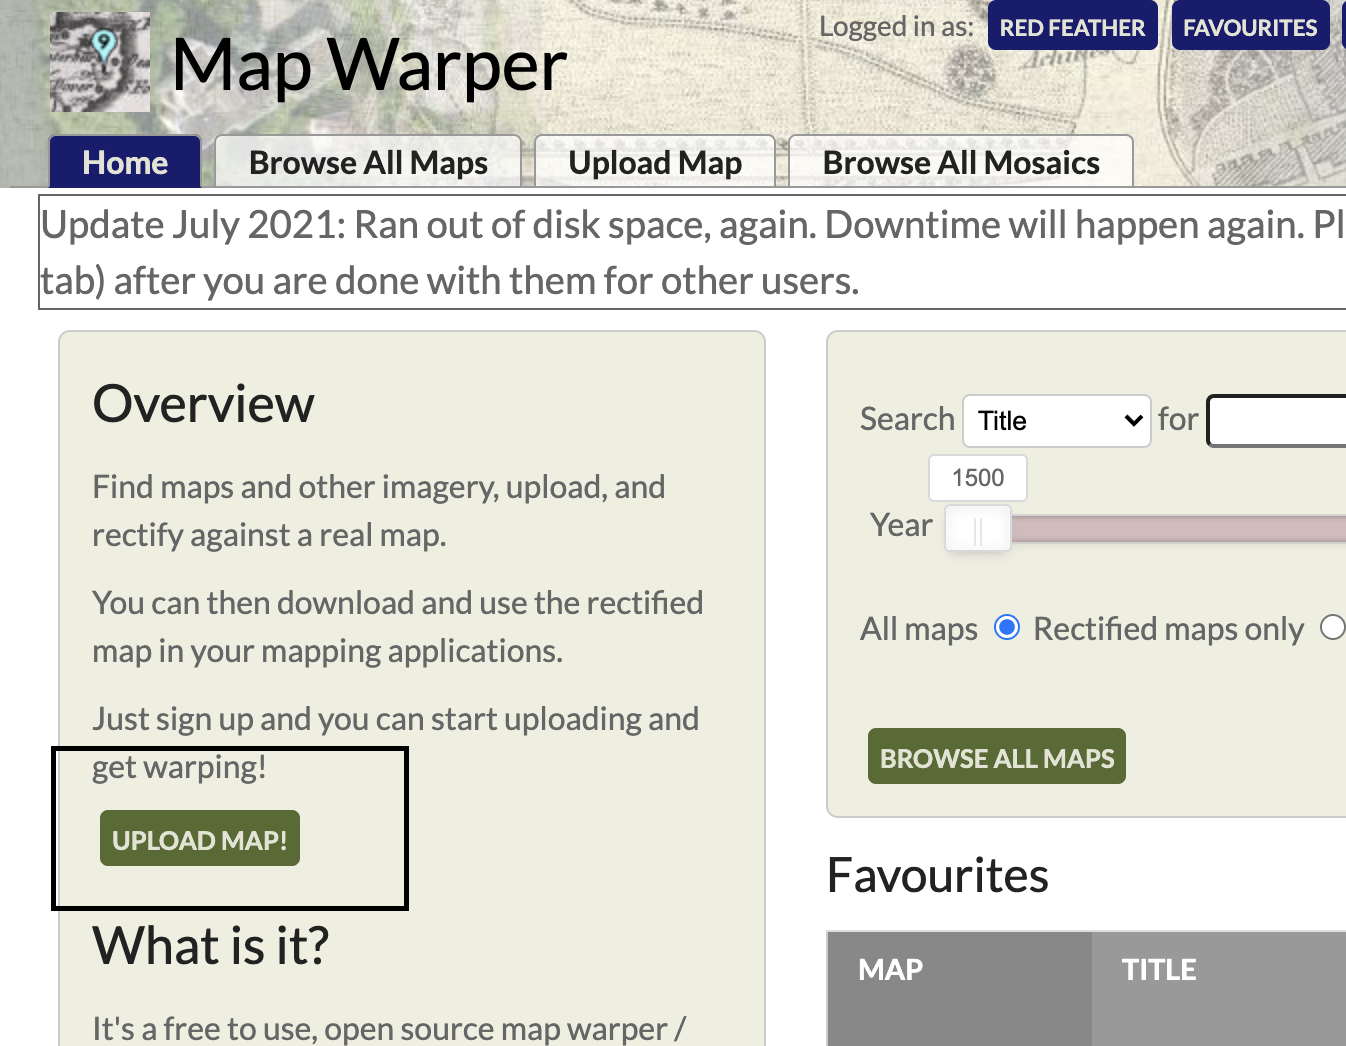
- Once you are signed into your account, go to the Map Warper homepage, and click the Upload Map button to upload your image into mapwarper.net.
- Fill out a Title, Description, and any other available metadata for your map
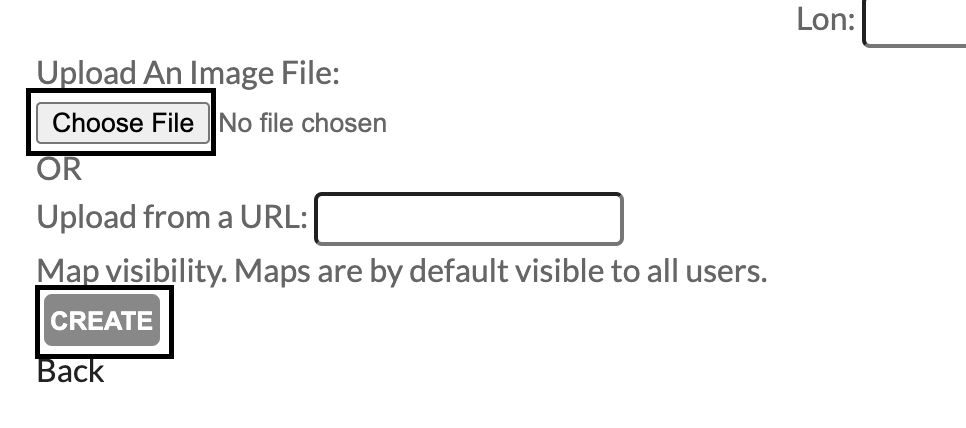
- Upload the image that you want to georectify by clicking the Choose File button or by referring to the image’s url if it is on the web.

- Click the Create button to combine your image and metadata into Map Warper.
- This will create a page where you can use Map Warper features to edit your map. You can click the Rectify tab at the top of the map’s page to begin rectifying.
Rectify your Map
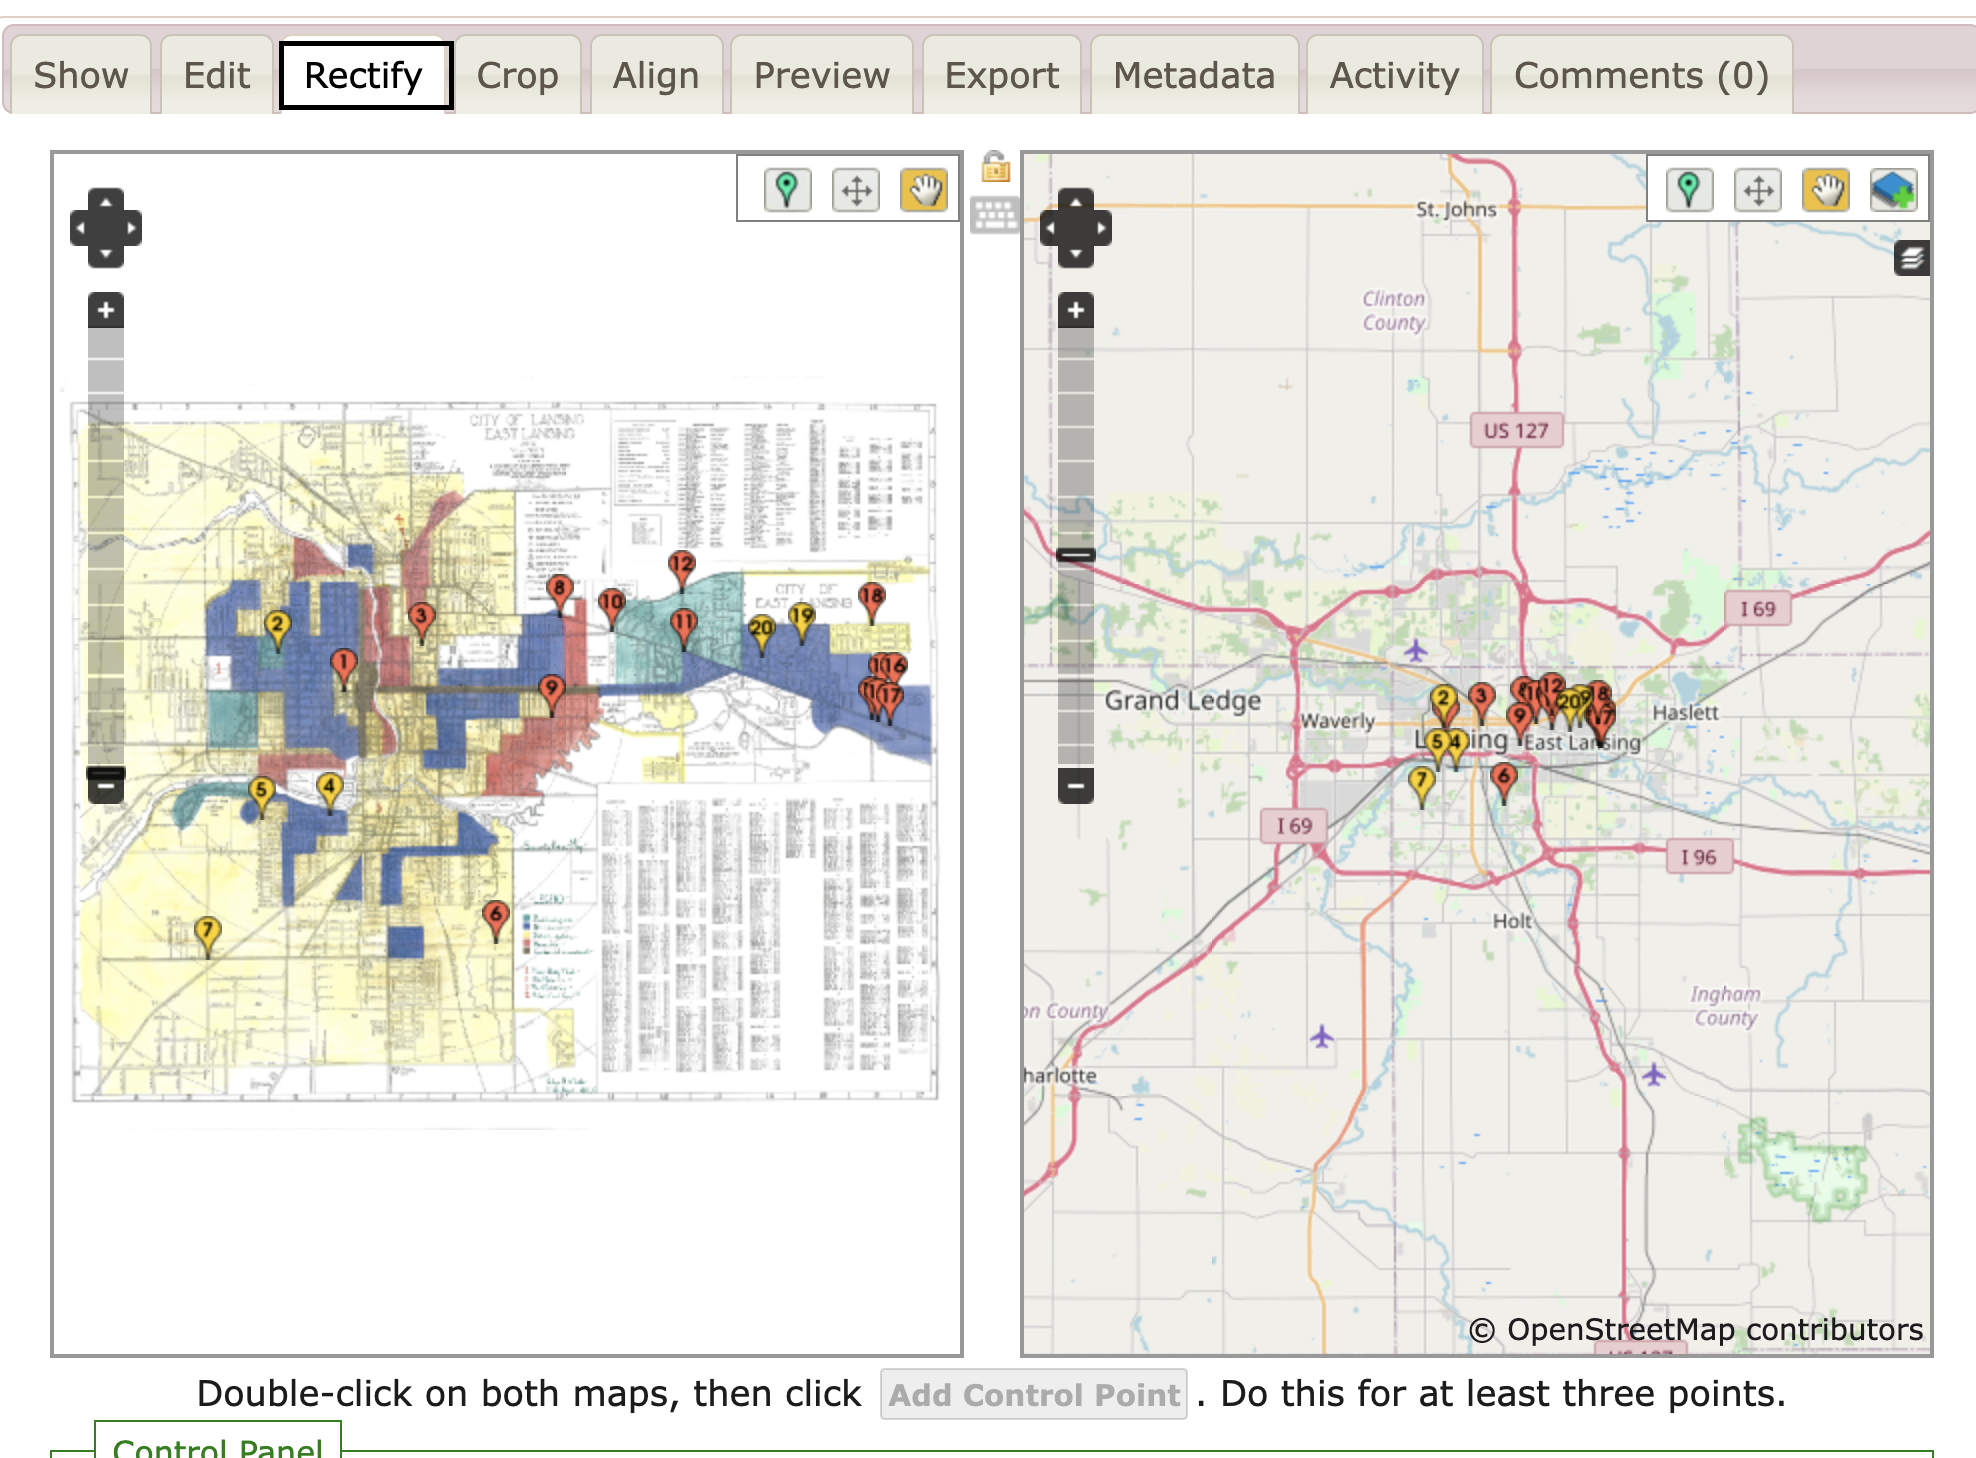
In the Rectify tab of your map, you will notice your map alongside an OpenStreetMap map. You will do your georectifying by telling map warper that a point on the image you provided corresponds to a point in OpenStreetMaps. To rectify, follow these steps:
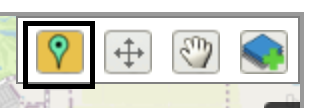
- Begin by selecting the Add Control Point button in the top-right corner of either map. Your selected button will highlight in both maps. The other buttons allow you to move control points you have placed or to move the map around without adding control points. Use as needed.
- After clicking the Add Control Points, right-click on both a point in your map image and a corresponding point in OpenStreetMap.
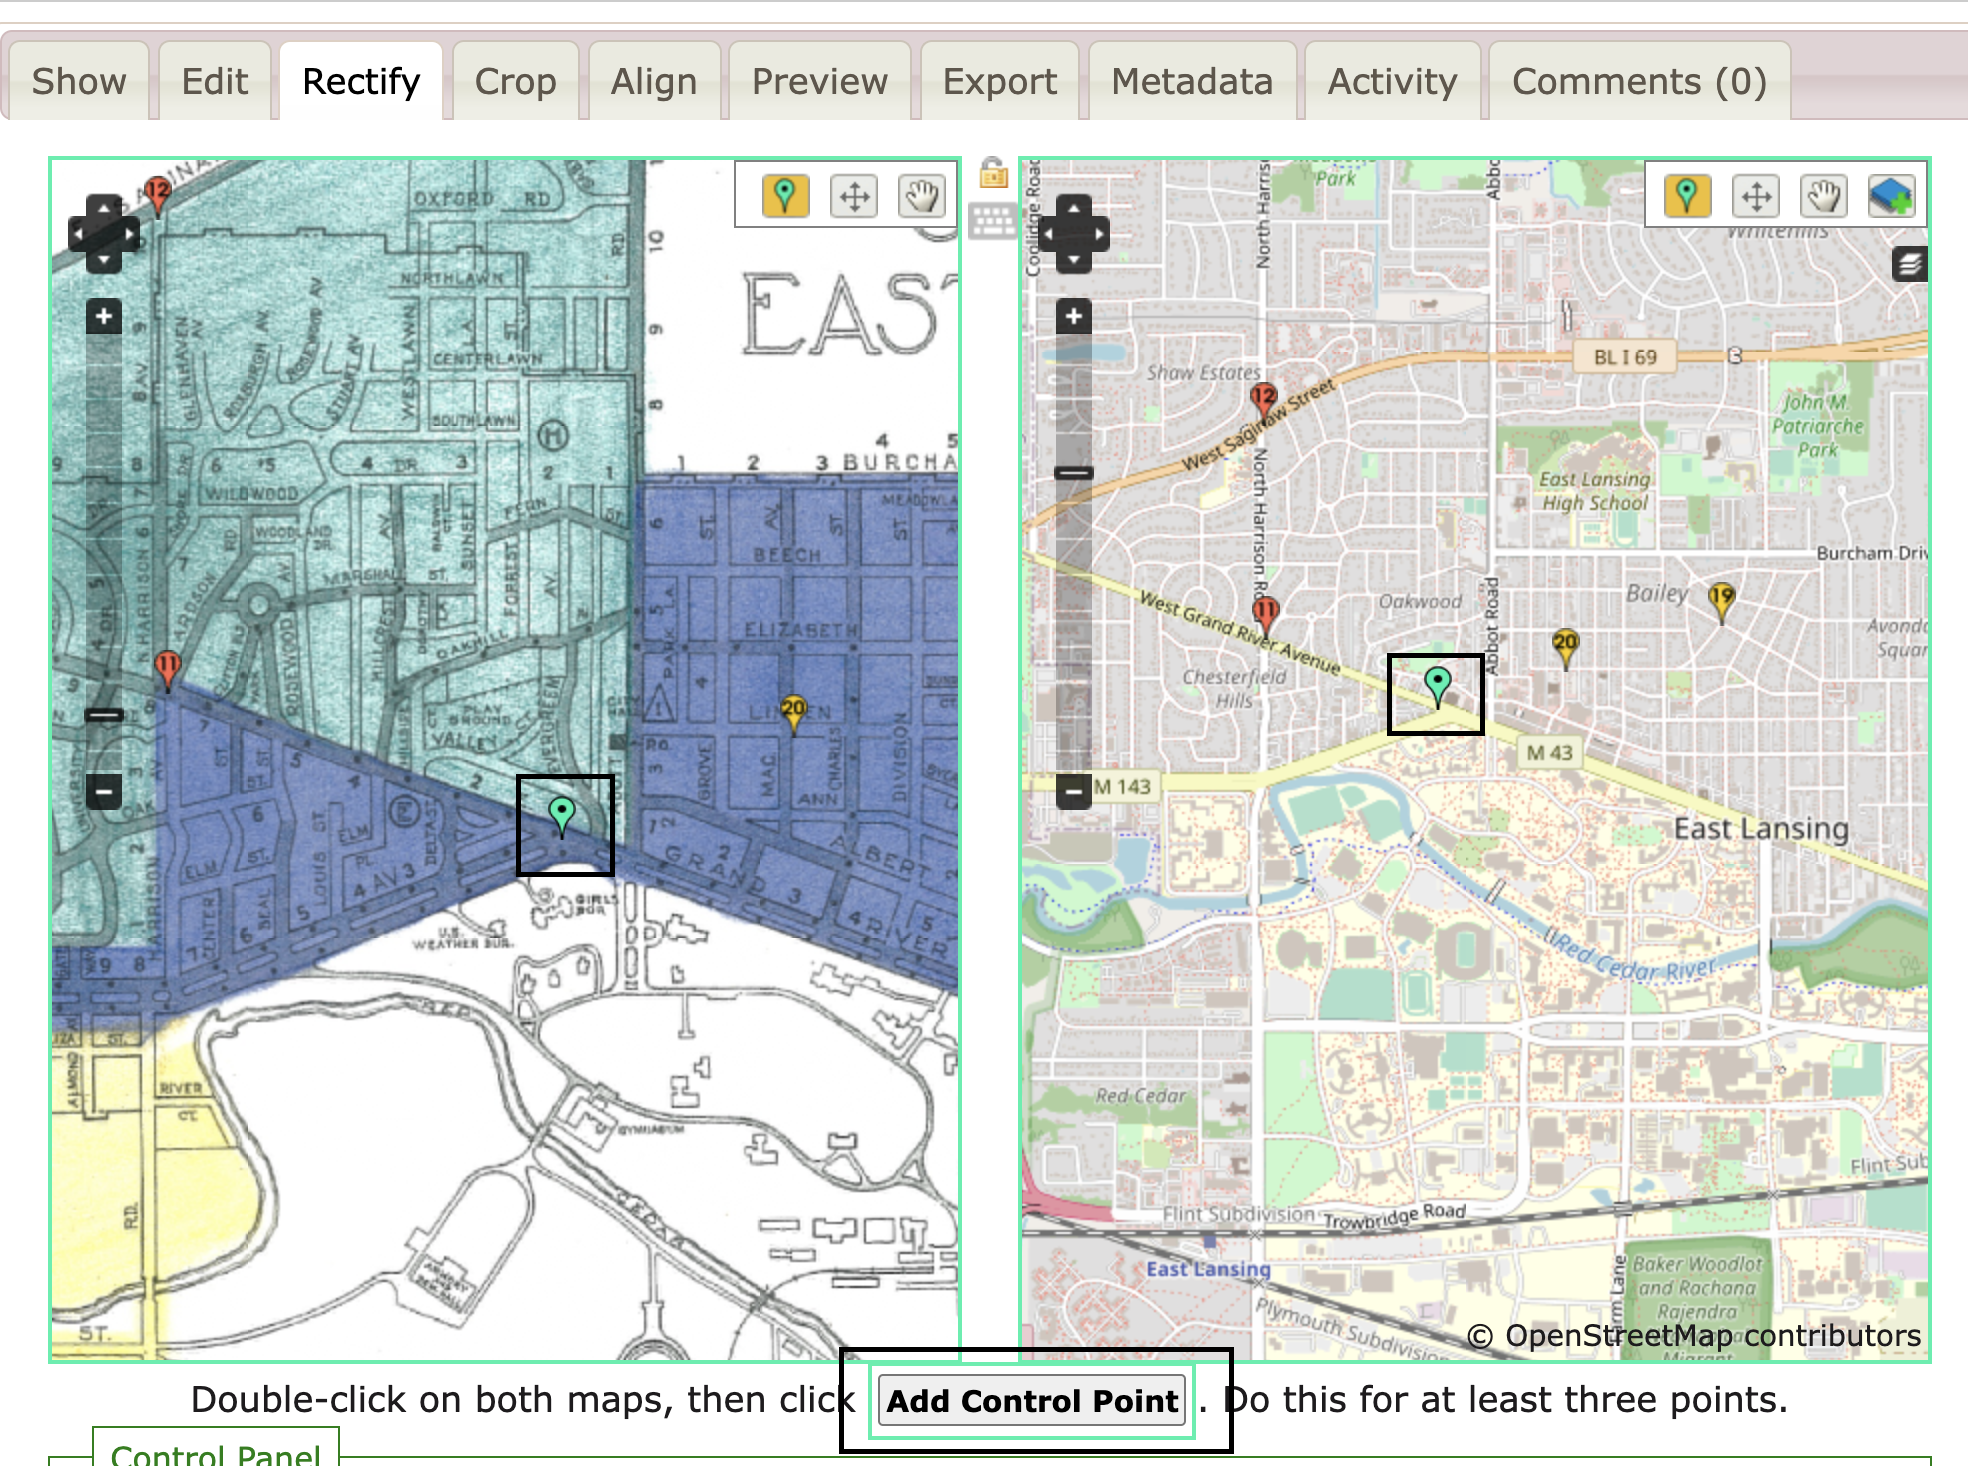
- Once you have two matching points, click the Add Control Point button below the two maps. This will create two same numbered control points that are associated with each other. One for your image and one for OpenStreetMaps. You will need to add at least two more sets of points, but add as many as you need to get a good warp on your map (you can always come back and add more points).
- Once you are satisfied with your control points, scroll to the Control Panel at the bottom of the page and click on the Warp Image button (the other default Control Panel options should be fine).
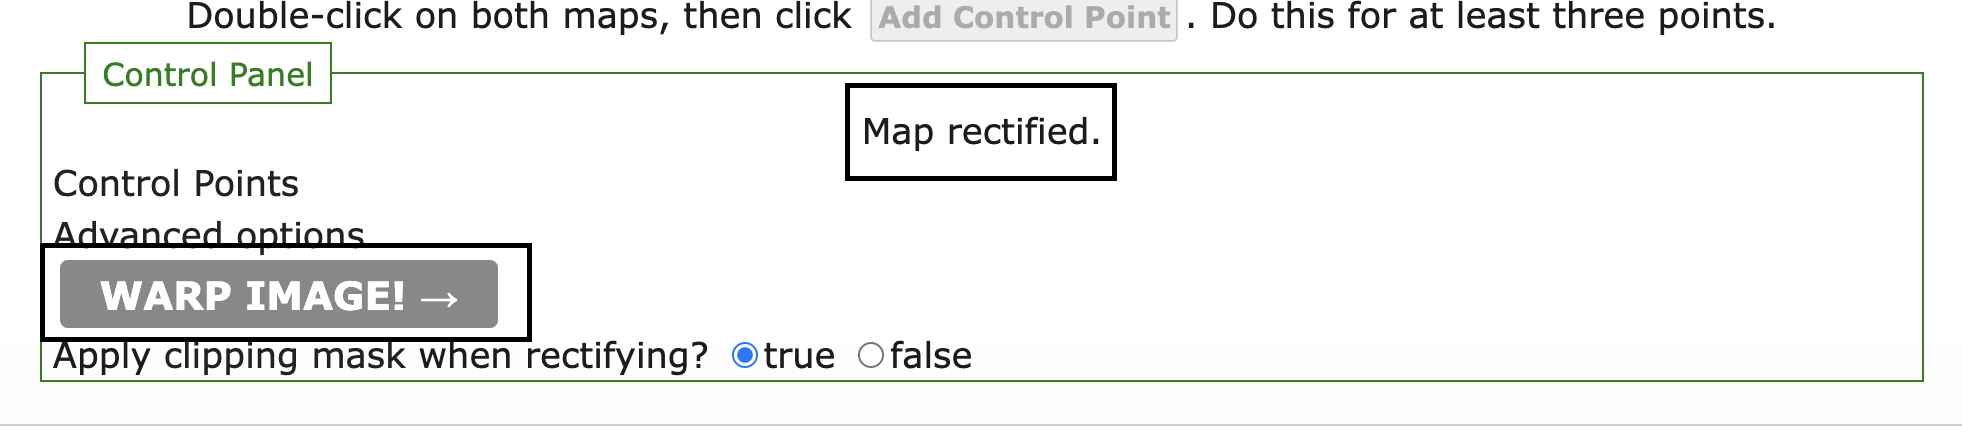
- You will get a notification that the “Rectifier is Working…” and then some text saying “Map Rectified”
- You now have a georectified image that can be exported in a number of ways for a number of purposes. Check out the Exports tab for various formats of your new georectified image (including KML). Alternatively, some applications (like Neatline) allow you to refer directly to a WMS URL for your georectified image.
- The WMS address will be something like “http://mapwarper.net/maps/wms/39213”, except your the last 5 numbers will be the identifying number of your map (the identifying number can be found at the end of the URL when you are at your map’s page in mapwarper.net)
- Note: you can also georectify a fictional map (or any image) using Map Warper, creating a fictional map with coordinates. Coordinates would be created for the image that can be referred to with other applications (the coordinates just wouldn’t be lined up with anything real on the map).
Additional Resources
- Neatline Guide where we talk about using Map Warper
- arcgis Guide on Georectification